> For the complete documentation index, see [llms.txt](https://docs.mosaic.ag/llms.txt). Markdown versions of documentation pages are available by appending `.md` to page URLs; this page is available as [Markdown](https://docs.mosaic.ag/swap-integration/swap-widget.md).
# Swap Widget
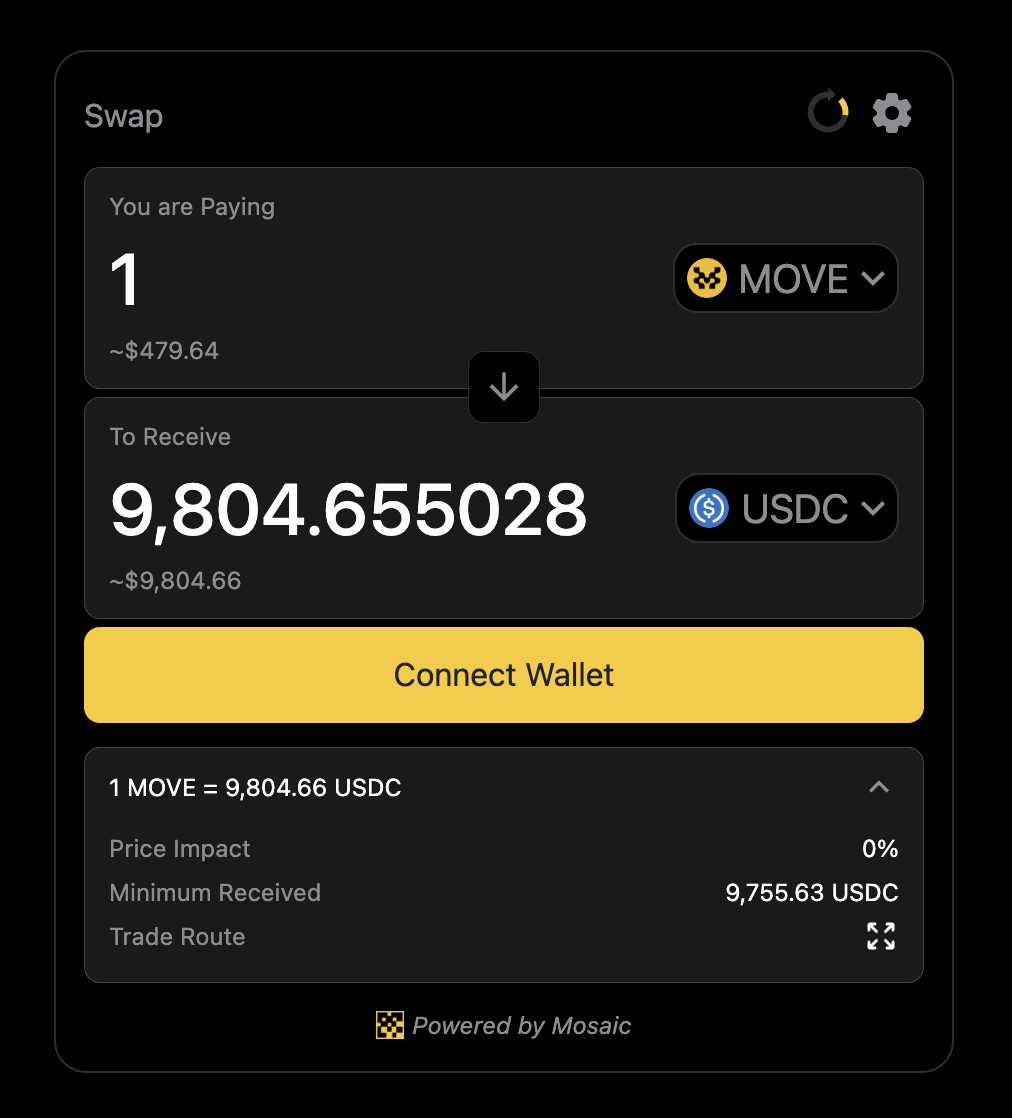
The Swap Widget bundles the whole swapping experience into a single React component that developers can easily embed in their app with a few lines of code.
[Here](https://swap-widget-demo.vercel.app/) is a live preview of the swap widget.
### Installing the Widgets Library
Install the widgets library via `npm` ,`pnpm` or `yarn`.
```js
yarn add @mosaicag/swap-widget
```
or
```js
npm i --save @mosaicag/swap-widget
```
### Adding the Swap Widget to Your App
* Register for an new `API key` with the Mosaic Team, [see here](https://docs.mosaic.ag/swap-integration/integration-partners#note-api-key-requirement)
* Import `@mosaicag/swap-widget/style.css` in the root component in react, (ex: main.tsx/App.tsx)
```js
import '@mosaicag/swap-widget/style.css'
import SwapWidget from '@mosaicag/swap-widget'
function App() {
...
...
}
```
### Wallet Interaction
* A lot of wallets are coming to Movement. You are free to use any wallet you want.
* The swap widget uses a `wallet` prop to allow users to sign and submit transactions ([details here](https://www.npmjs.com/package/@mosaicag/swap-widget))
### Customize theme
```js
```
### [List of configurations](https://www.npmjs.com/package/@mosaicag/swap-widget)
### [Demo & example](https://swap-widget-demo.vercel.app/)
### Feature request & Report issue
* Feel free to contact us to request new config/report bug if you think it might be helpful.
* Please reach out to us via Discord or email us directly at **** for assistance and further details.